Video: A Step-by-Step Guide on How To Style A Bed
Styling a bed and bedroom can seem pretty daunting, but we’re here to break it down into a few easy steps. Amber’s design aesthetic is all about layering — and we make sure that happens in every room. Layering to us means there are several elements, usually one thing on top of the other. We take this very seriously around here, and the motto..more is more!
One thing to keep in mind before tackling our step-by-step guide is that this process can take a lot of trial and error until you settle on the final look. You’ll see in our video below that we changed the room no less than a bajillion times until we were happy with it. You’ll also see that there are quite a lot of people in this video! We were doing our Shoppe catalogue shoot, so we had way more hands on deck than is typical. We promise you do not need an army to get the look, so try and follow the actual stuff, instead of the people putting it there, haha! Once our Shoppe catalogue comes out early next year, we’ll show you the final styled room, but in the meantime, here’s our step-to-step guide on how to style a bedroom.
A step-by-step guide on how to style a bedroom:
Step One
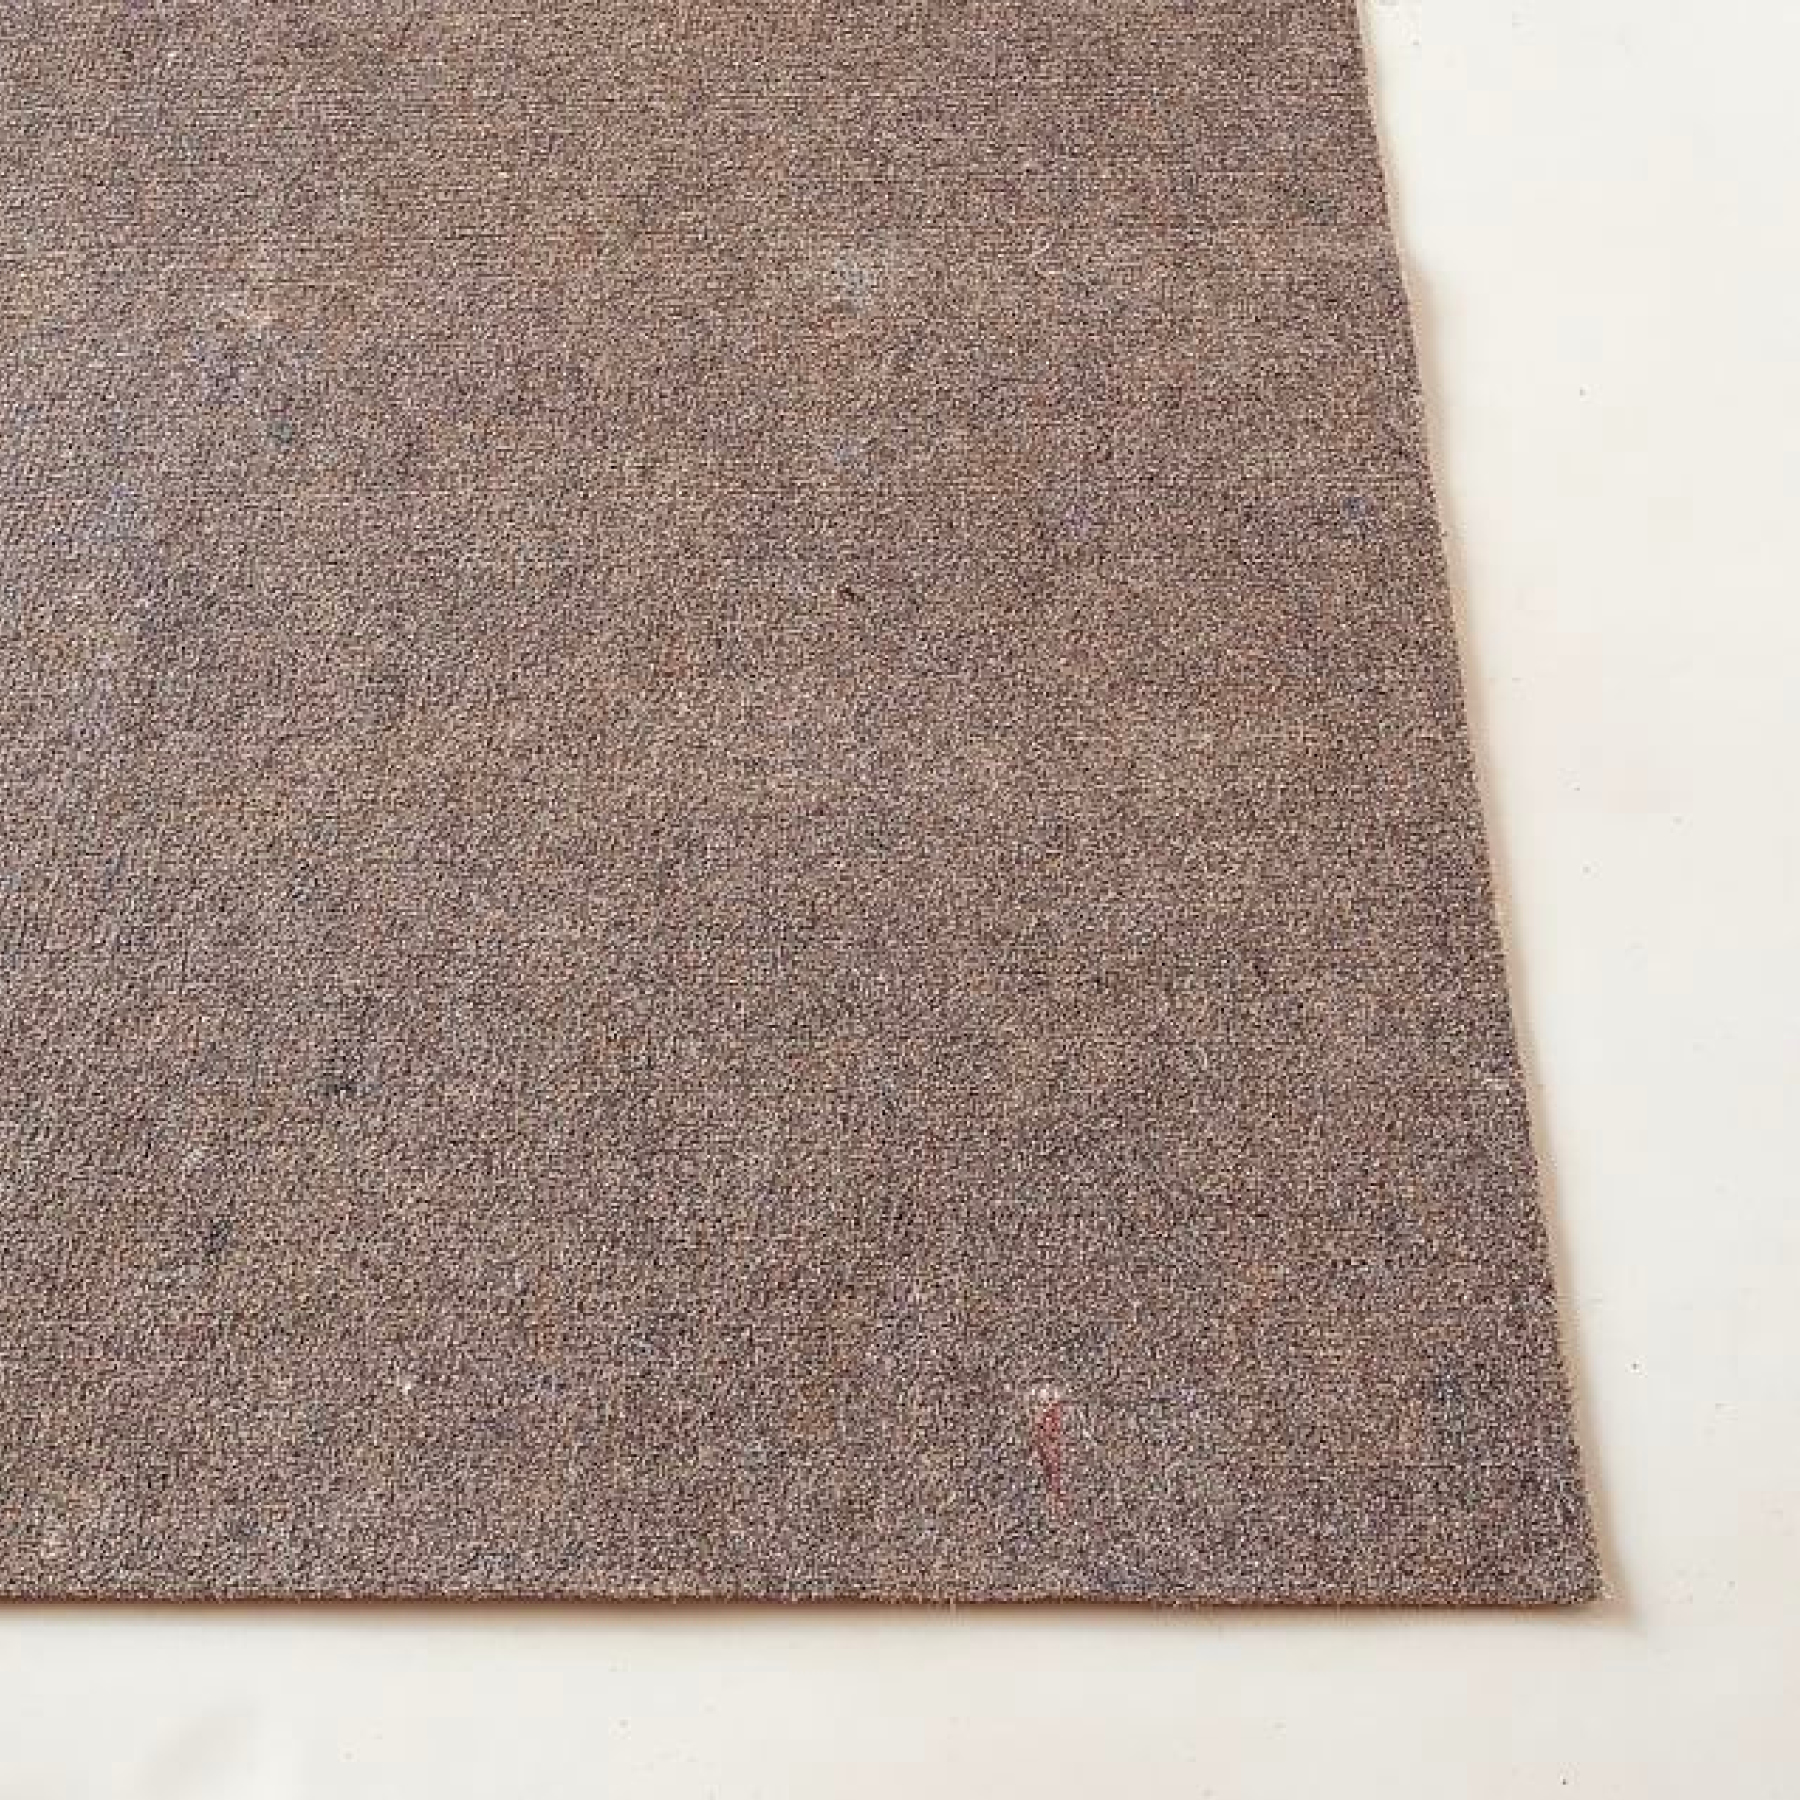
Make sure you have a sturdy rug pad, like this, and place it down exactly where you want to place your rug. Moving a heavy bed or furniture after the fact is no fun! Take our word for it.
Step Two
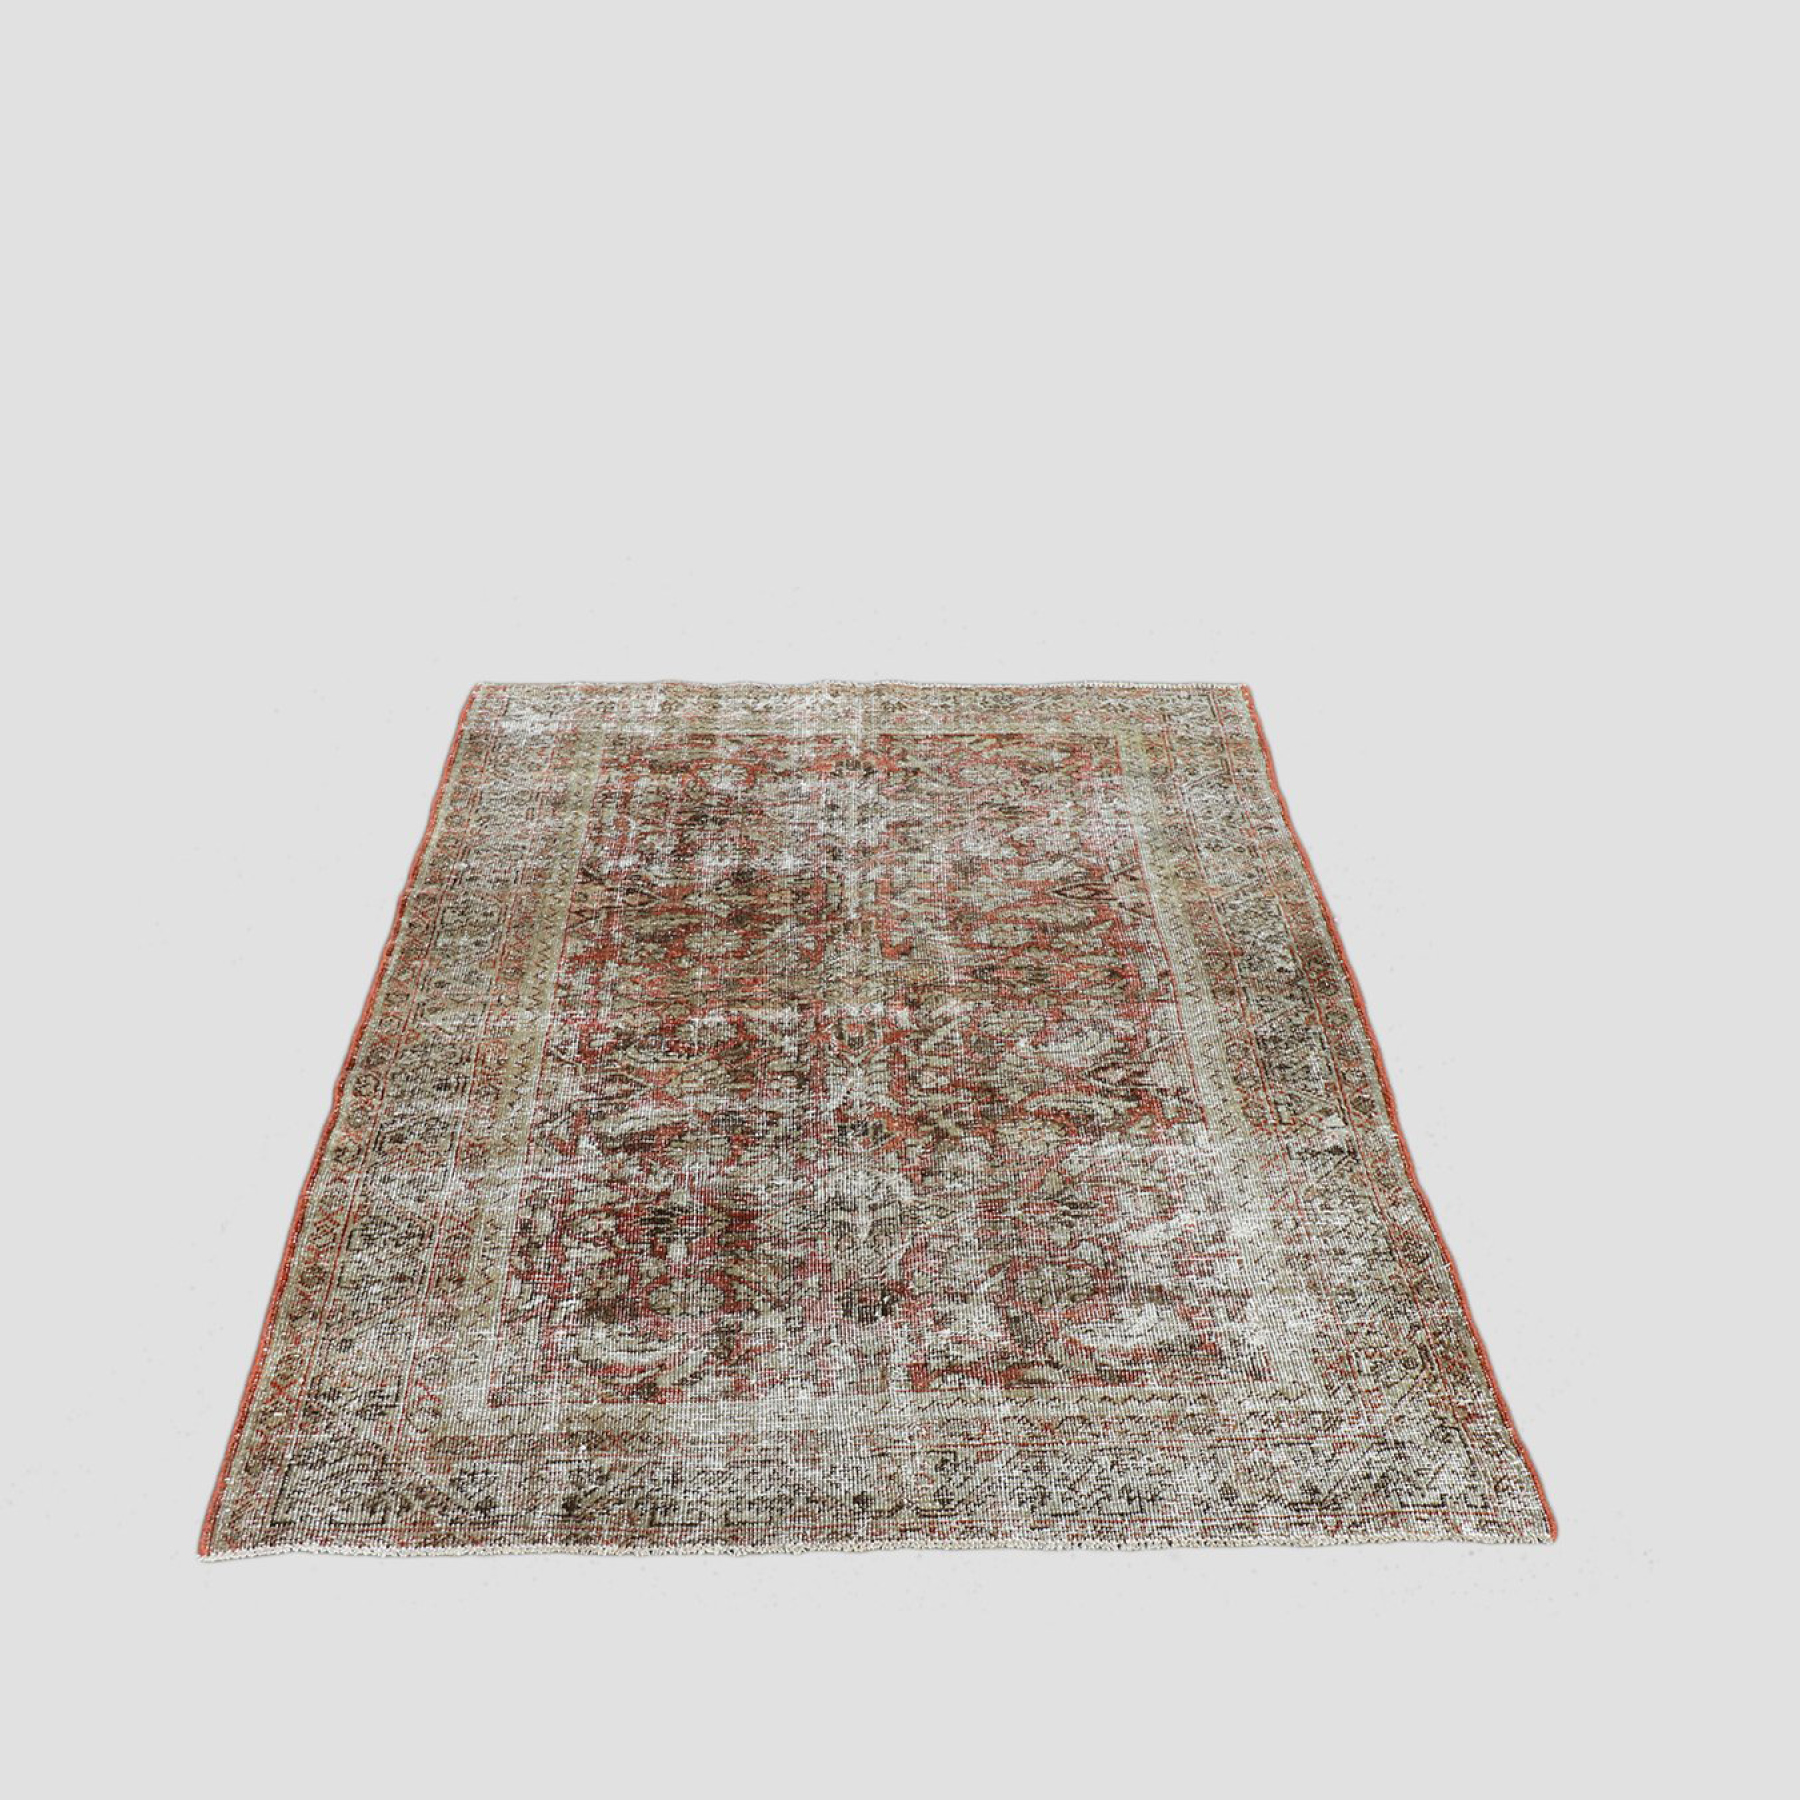
Place your rug down over the rug pad. Make it so the rug and rug pad line up almost exactly. Remember, once you place the bed on top, it’s going to be difficult to adjust so try your best to nail the location of your rug first!
Quick Tip: Amber likes to cut the rug pad back roughly an inch all the way around, so the edges of the rug will lay a little flatter around all four sides.
Step Three
The bed is finally ready to be placed on top of the rug. We’re using the Buddy Bed from Shoppe in this video!
Step Four
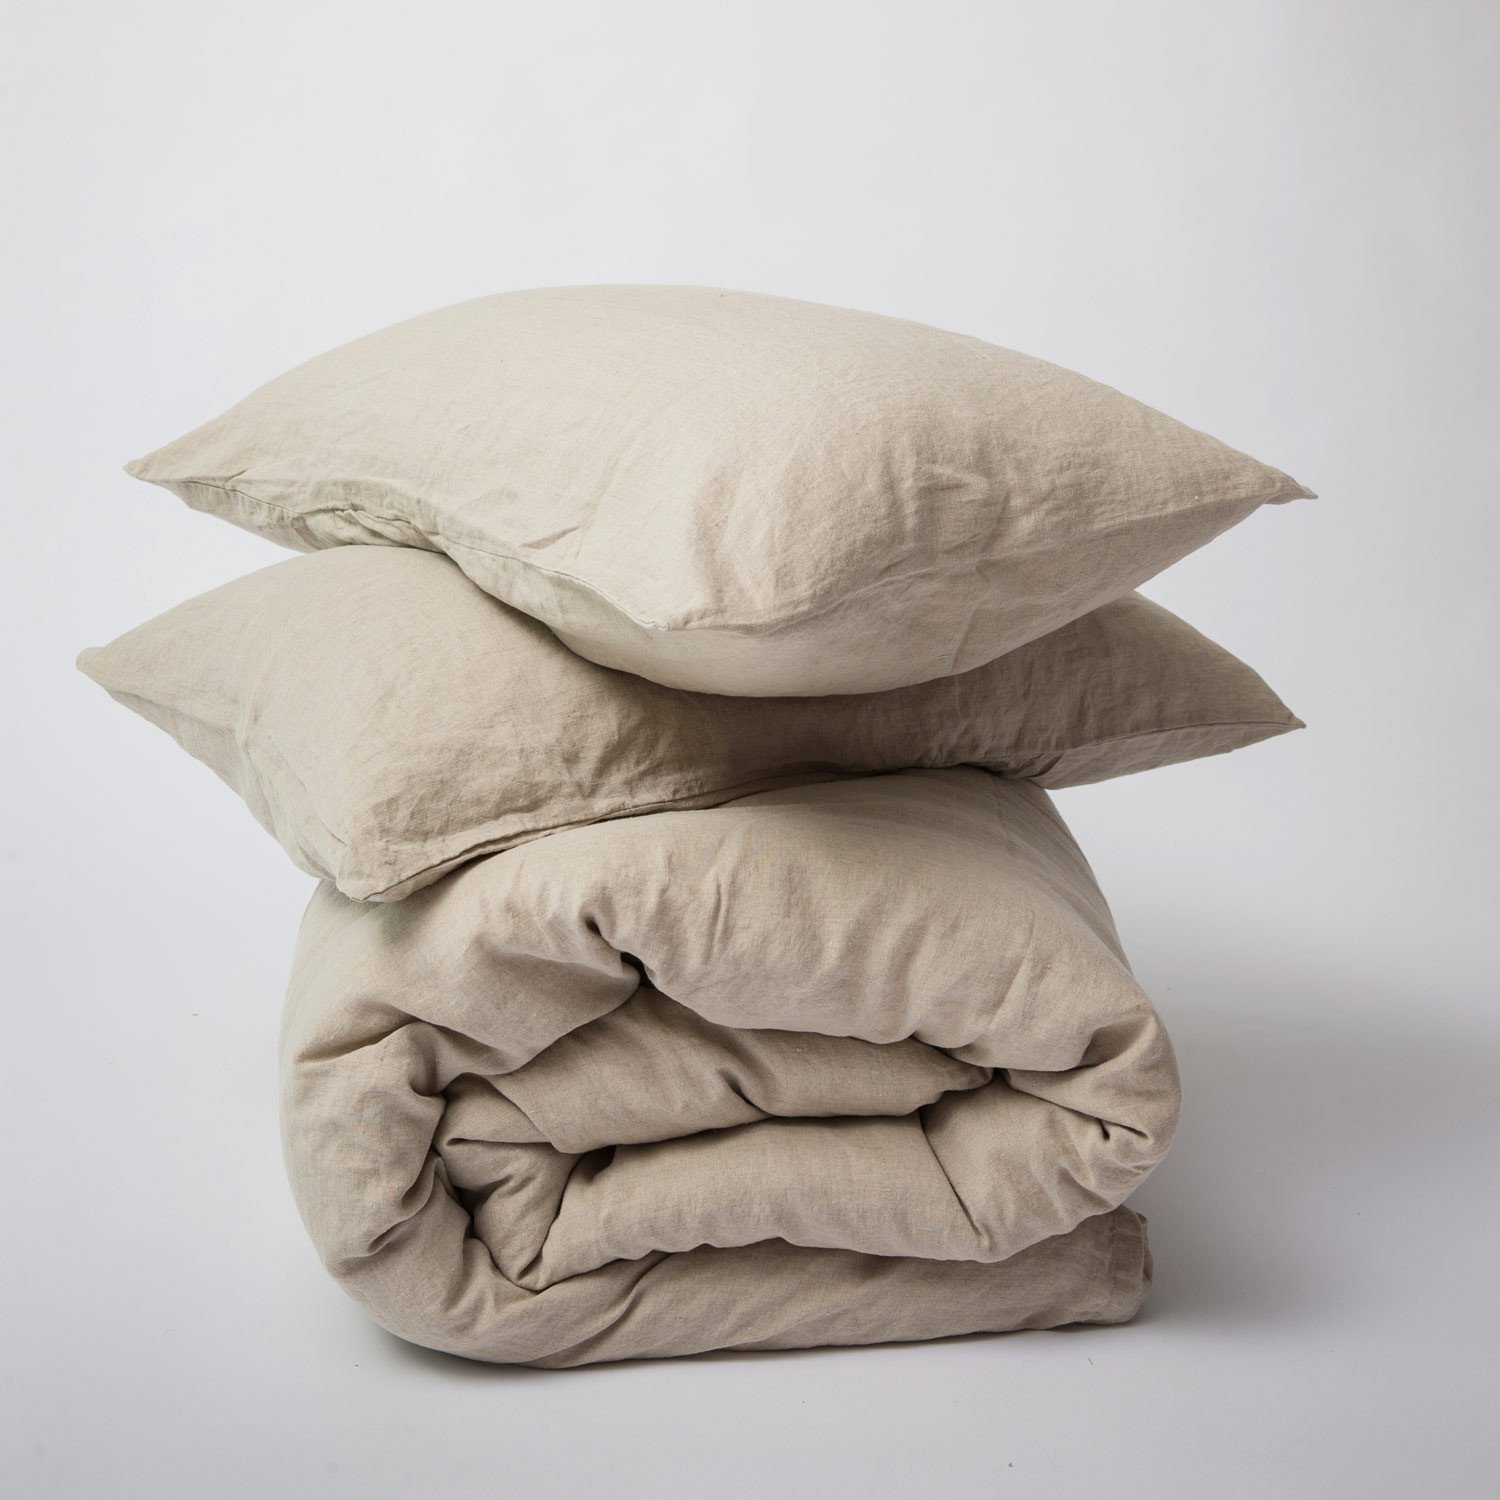
Get your sheets on the bed , here’s some of our favs, and it’s time to get styling. Make sure to wash your bedding prior to styling. If you’re using linen, you may need to get a steamer involved! Product Alert: We love this steamer.
Step Five
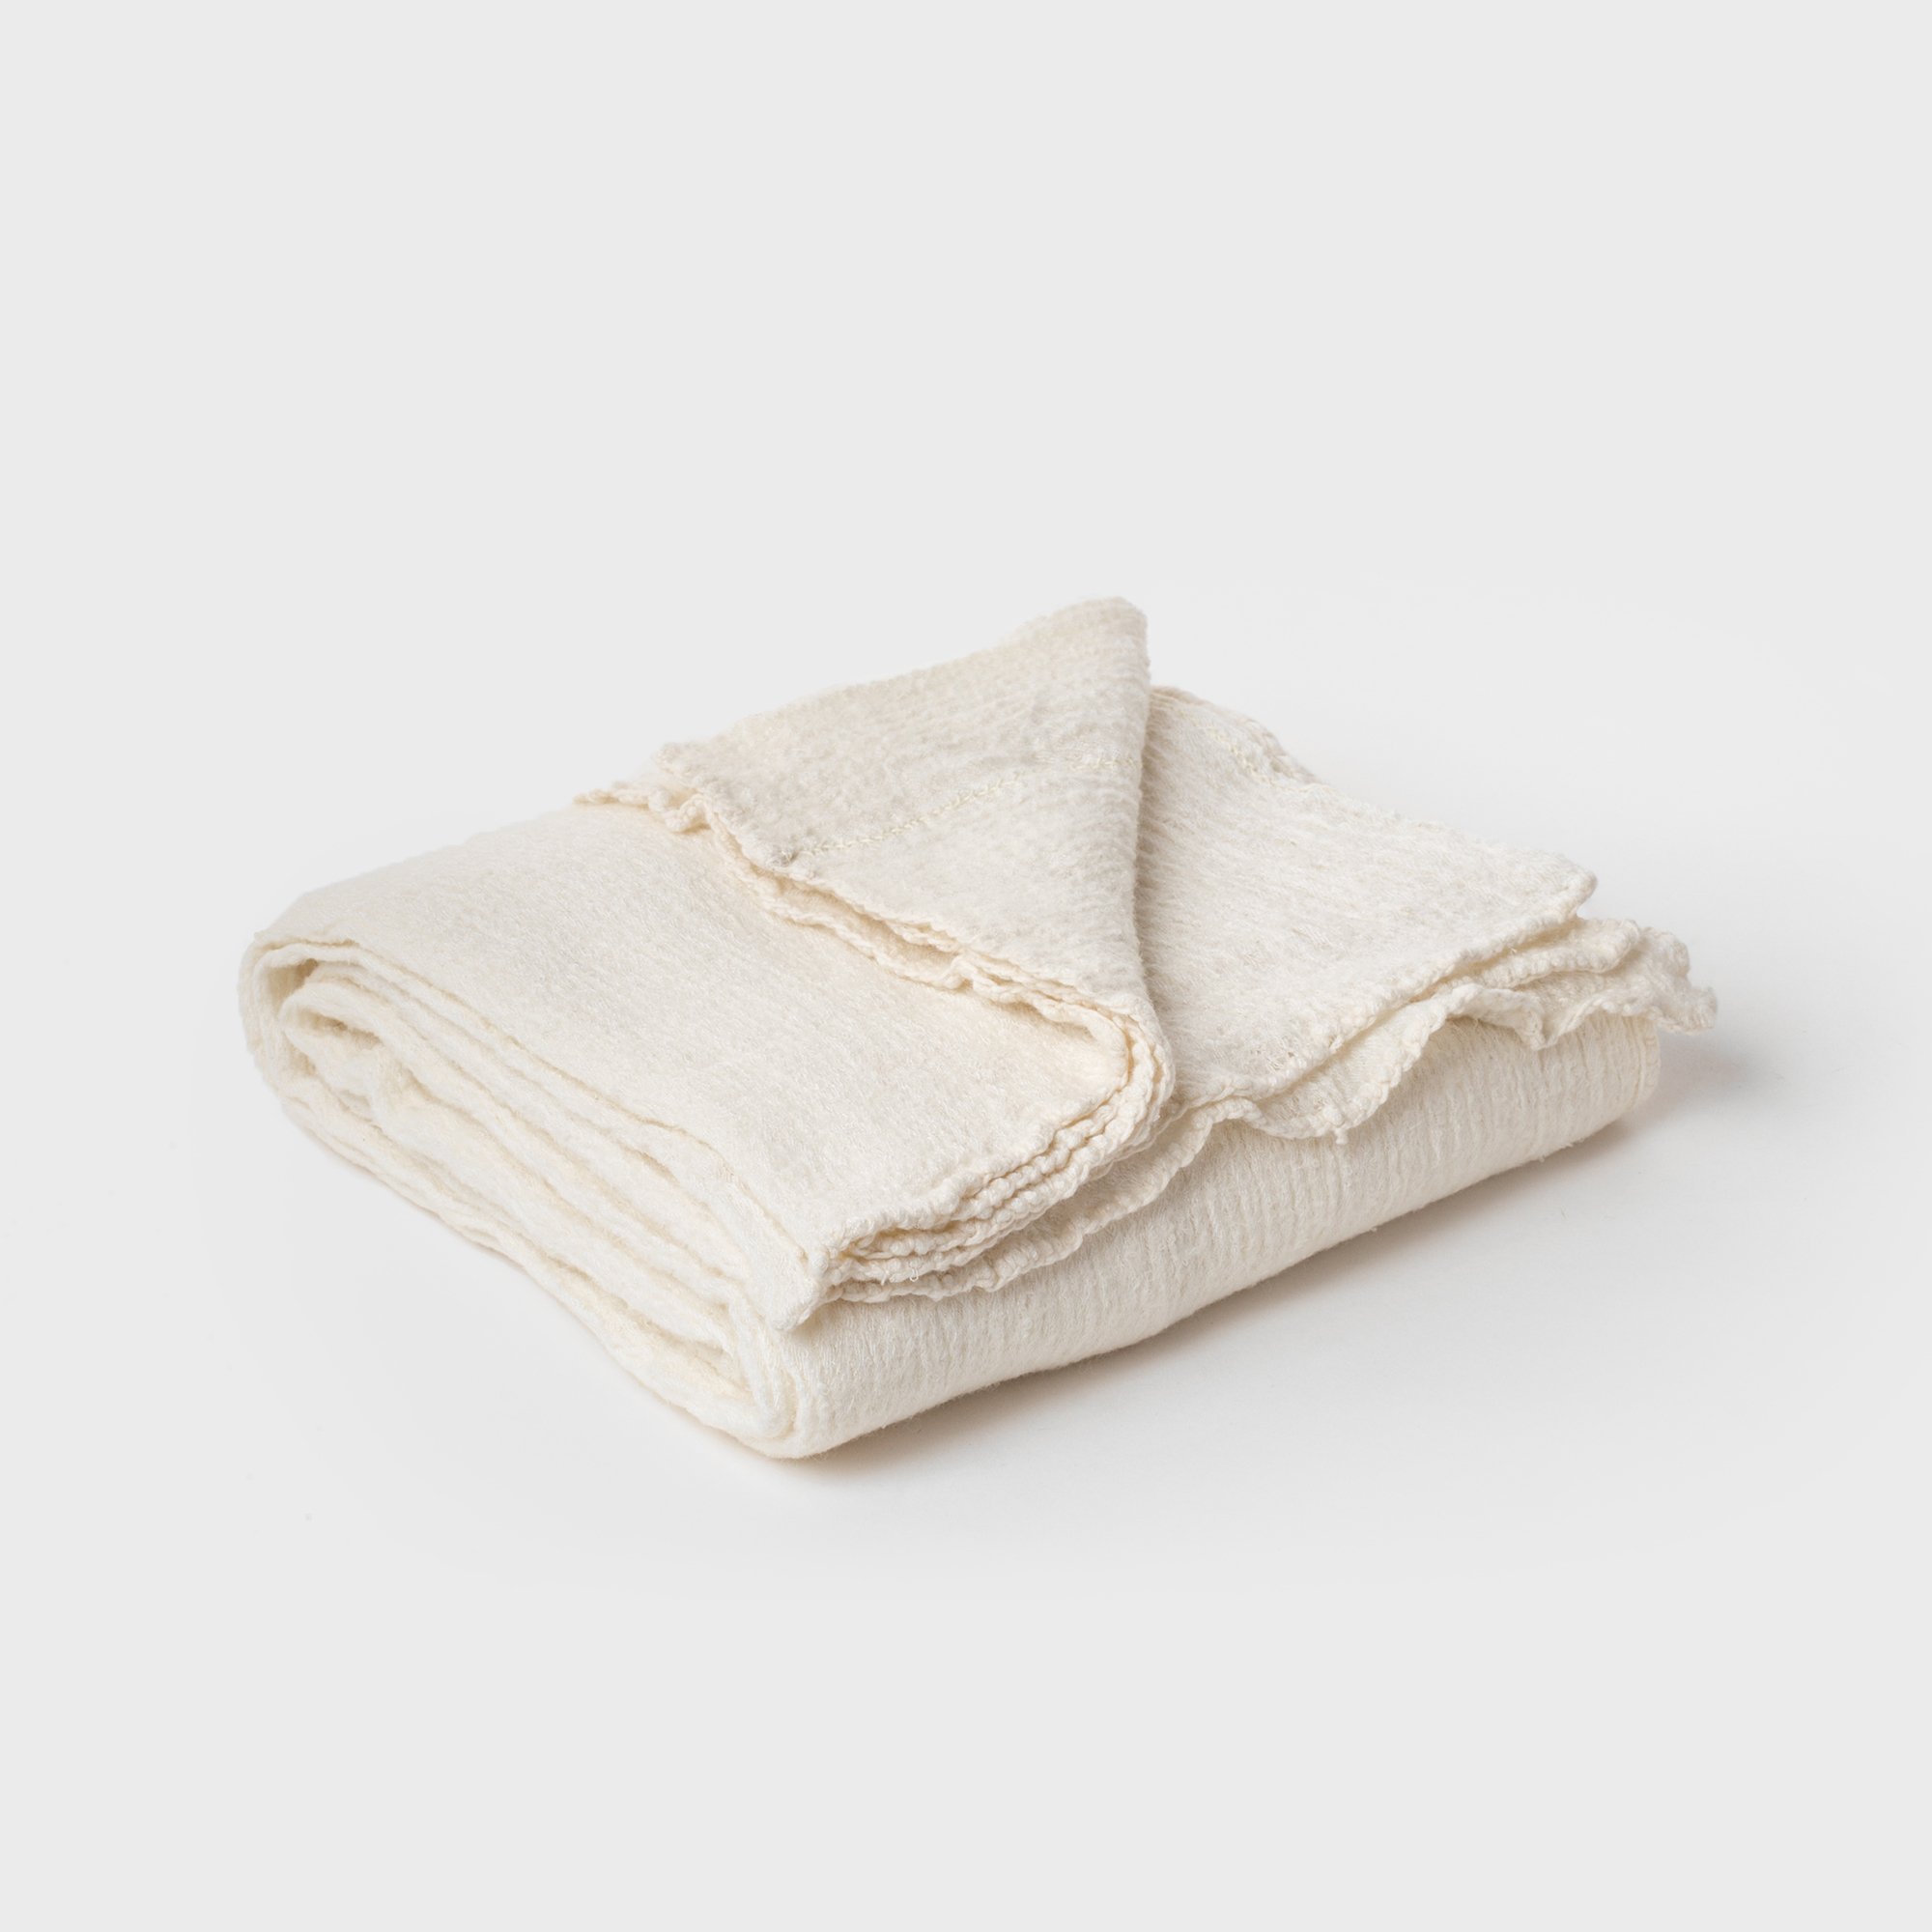
First up is the duvet. Once that’s on the bed, grab your throws or blankets to play around with layering. You’ll see in the video how many different throws we experimented with!
Step Six
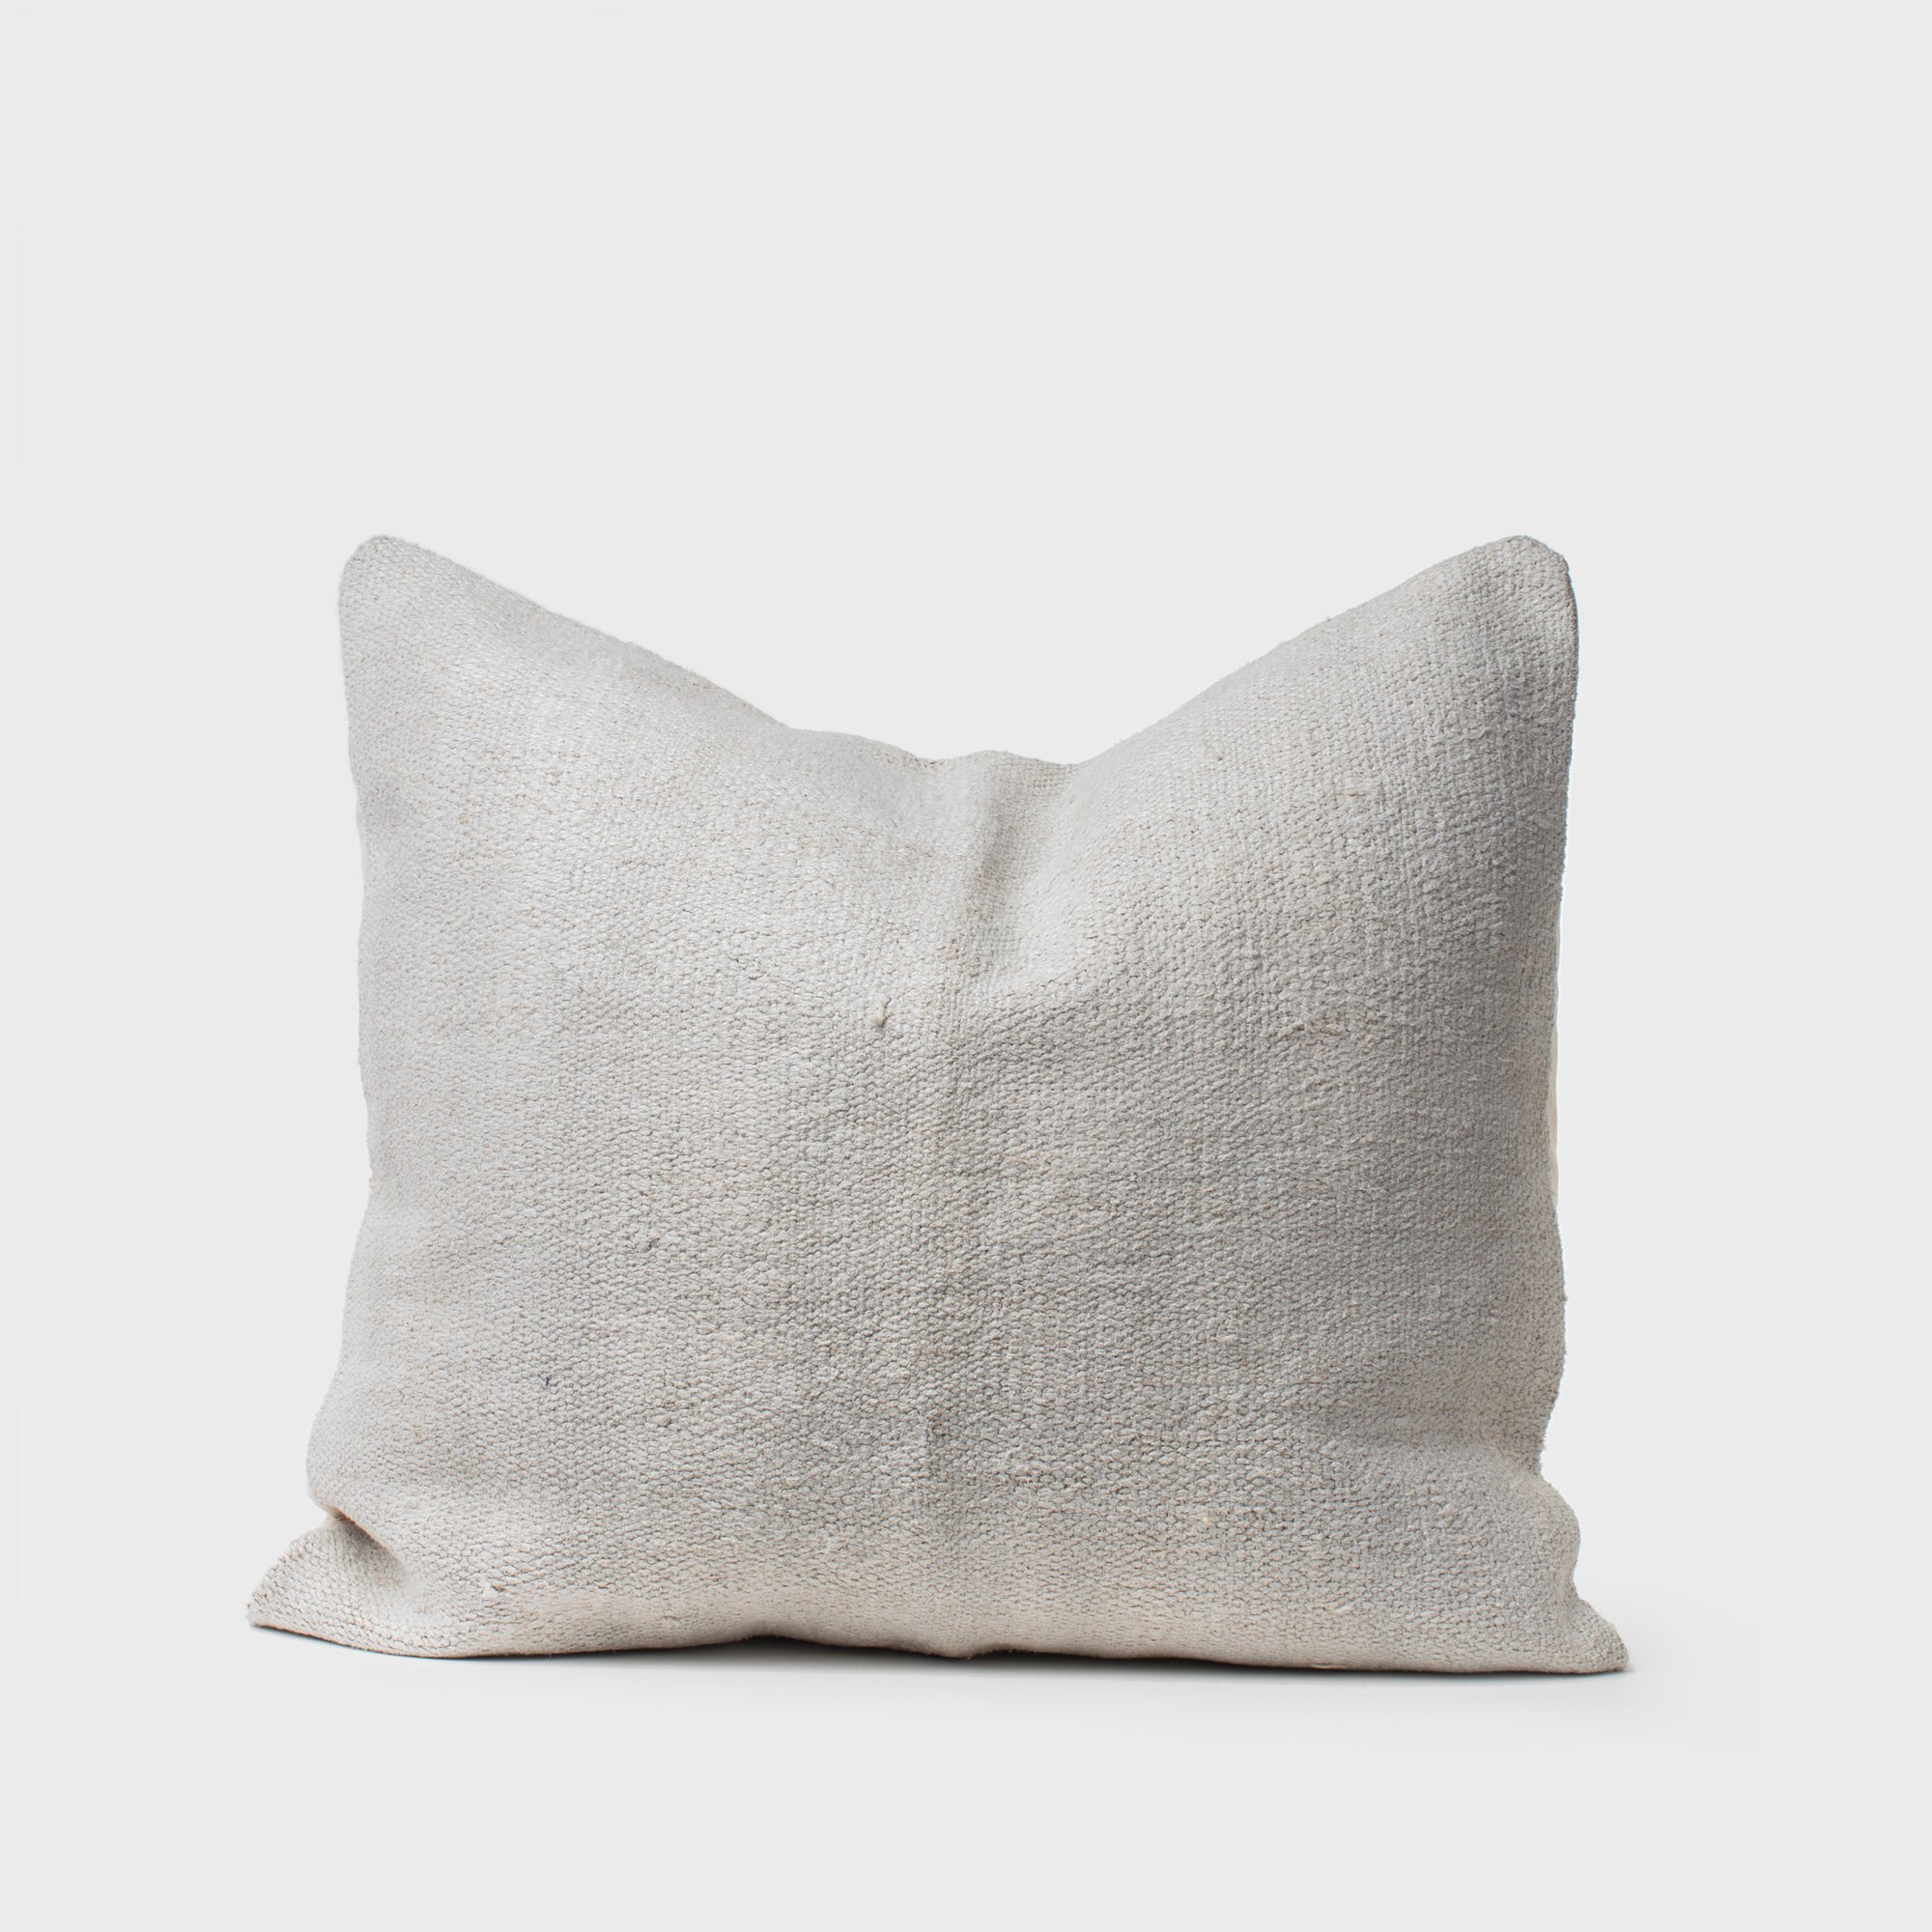
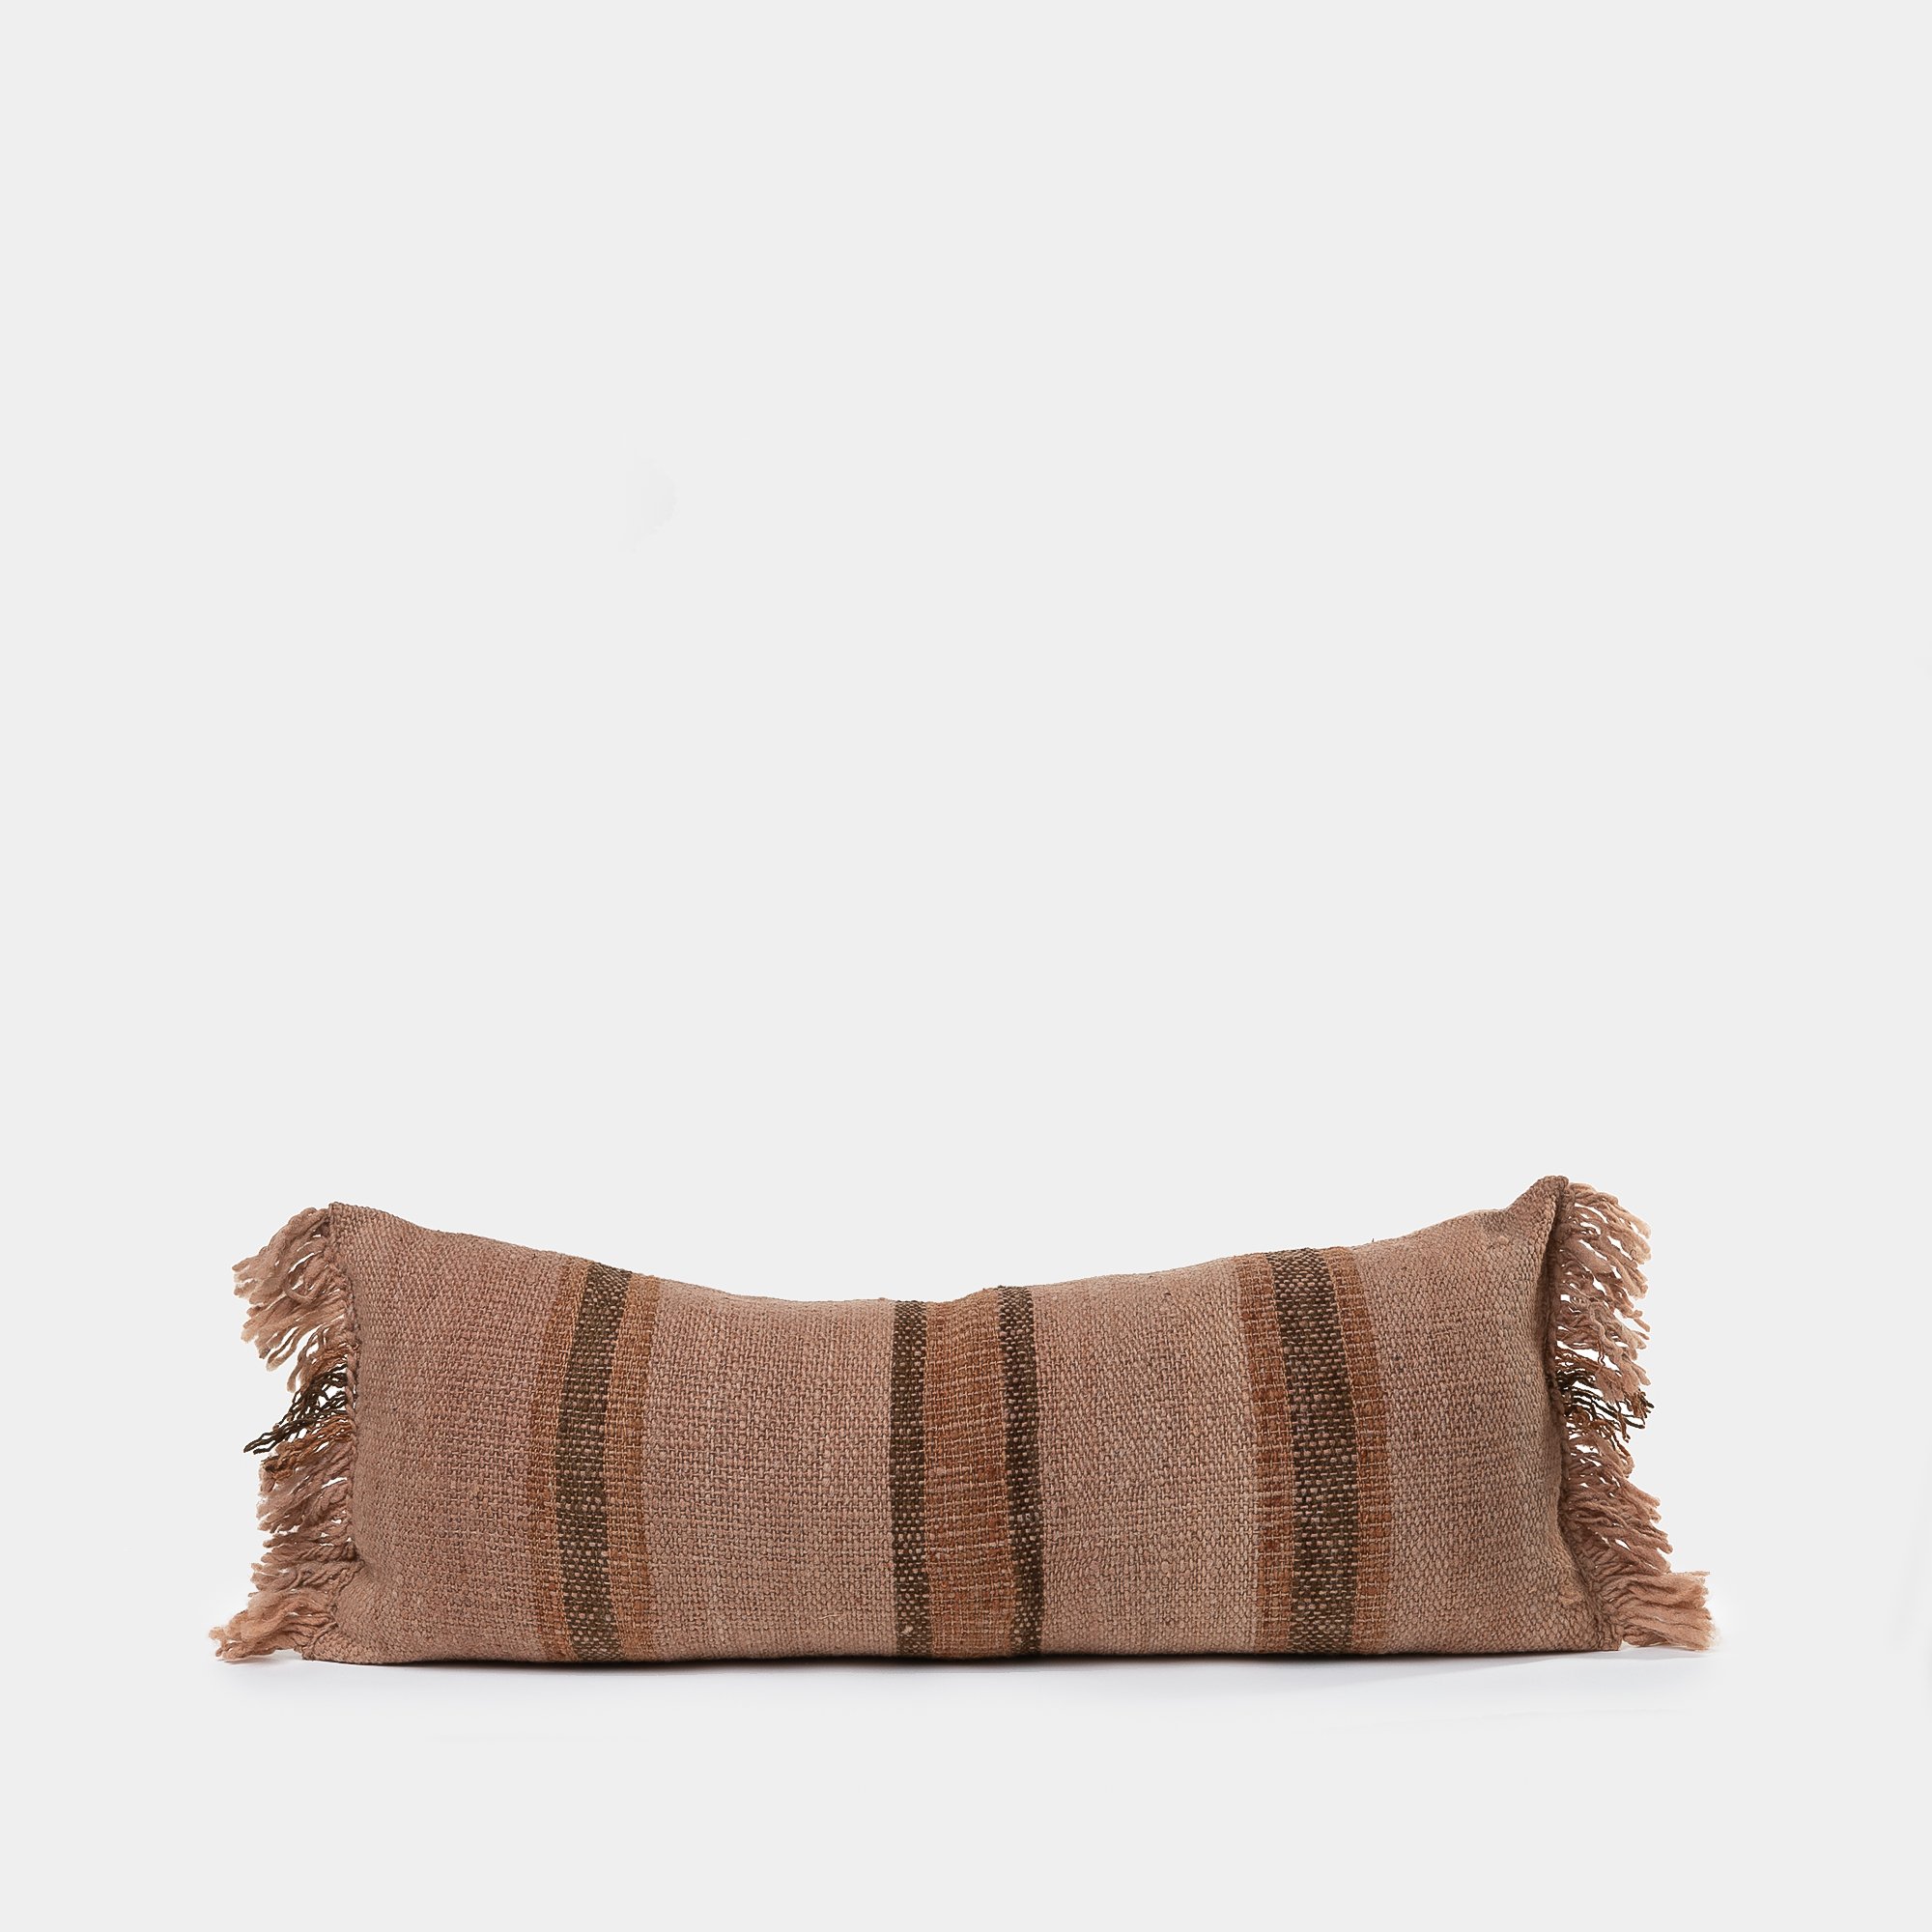
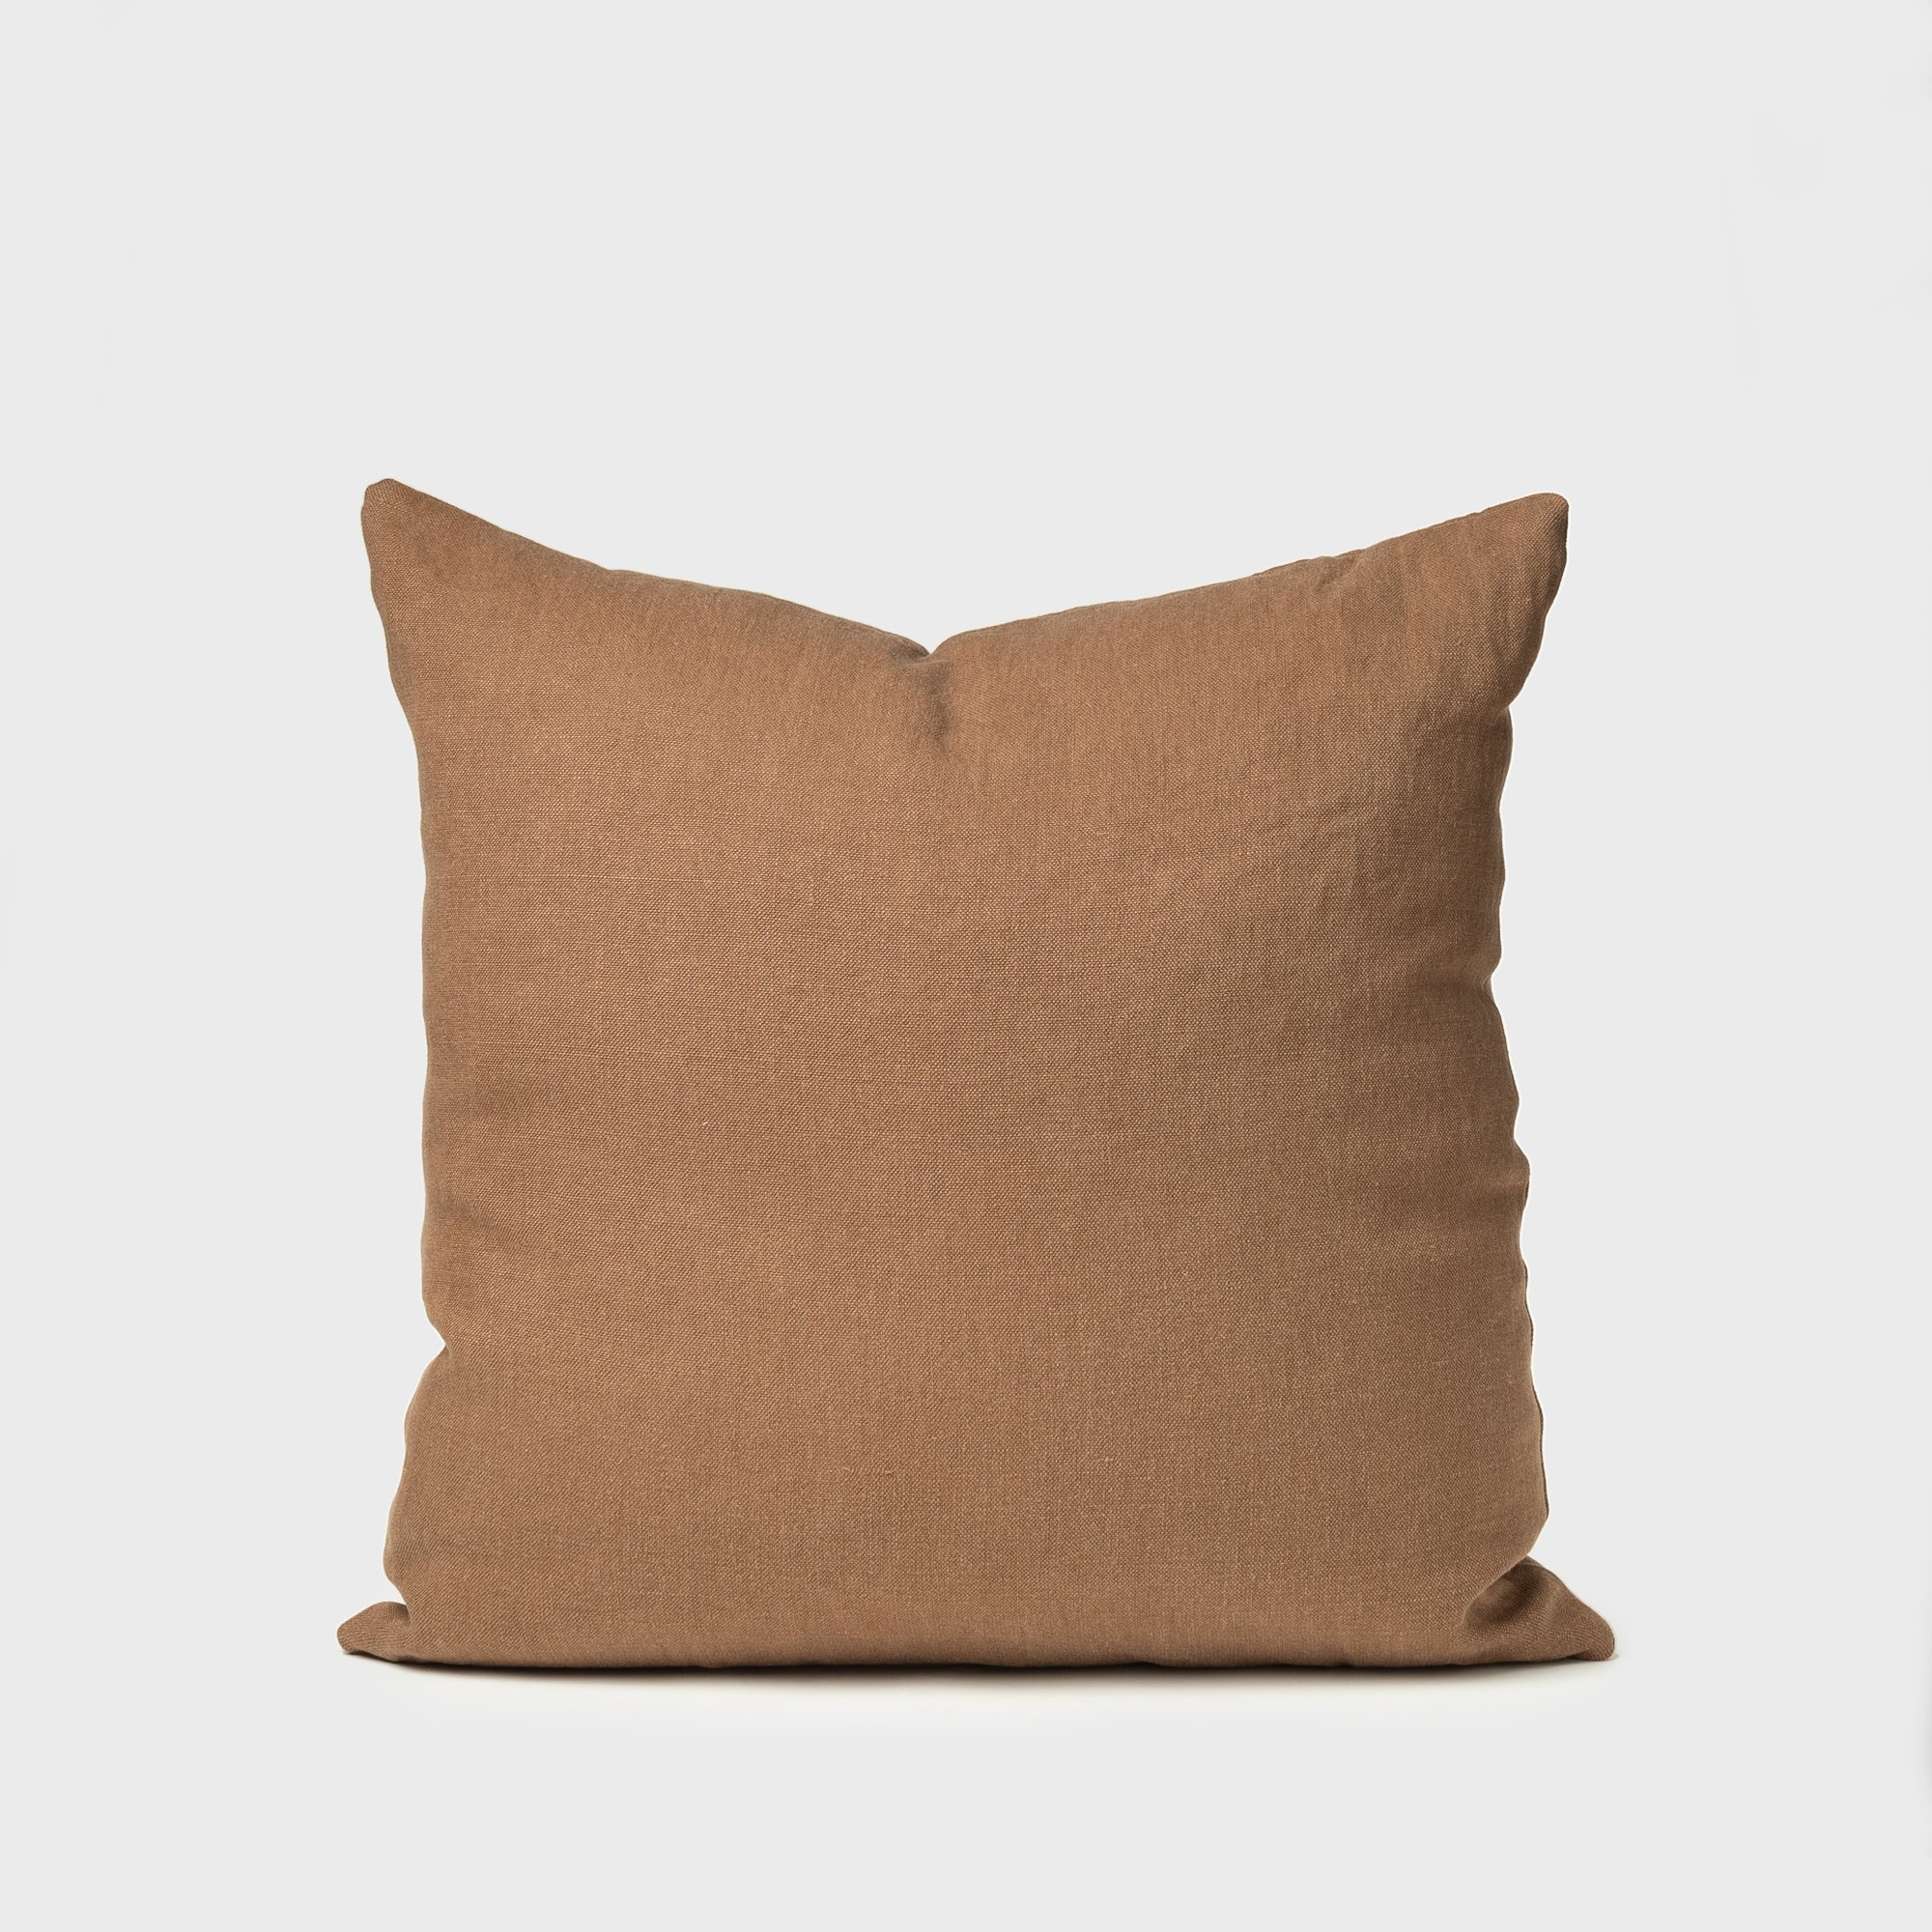
Pillows, pillows, pillows! Start with stacking your sleeping pillows on top of each other against the headboard, then place larger decorative pillows in front of those. Then you can play with adding more by working your way forward with smaller pillows. For mixing both color and pattern, Ambers rule of thumb: Start with her fave pillow and use that as the anchor piece. Choose pillows with similar color tones and keep that in mind when pulling additional pillows. Amber believes that you can add multiple patterns and colors, so long as they all are in the same general color tone.
Step Seven
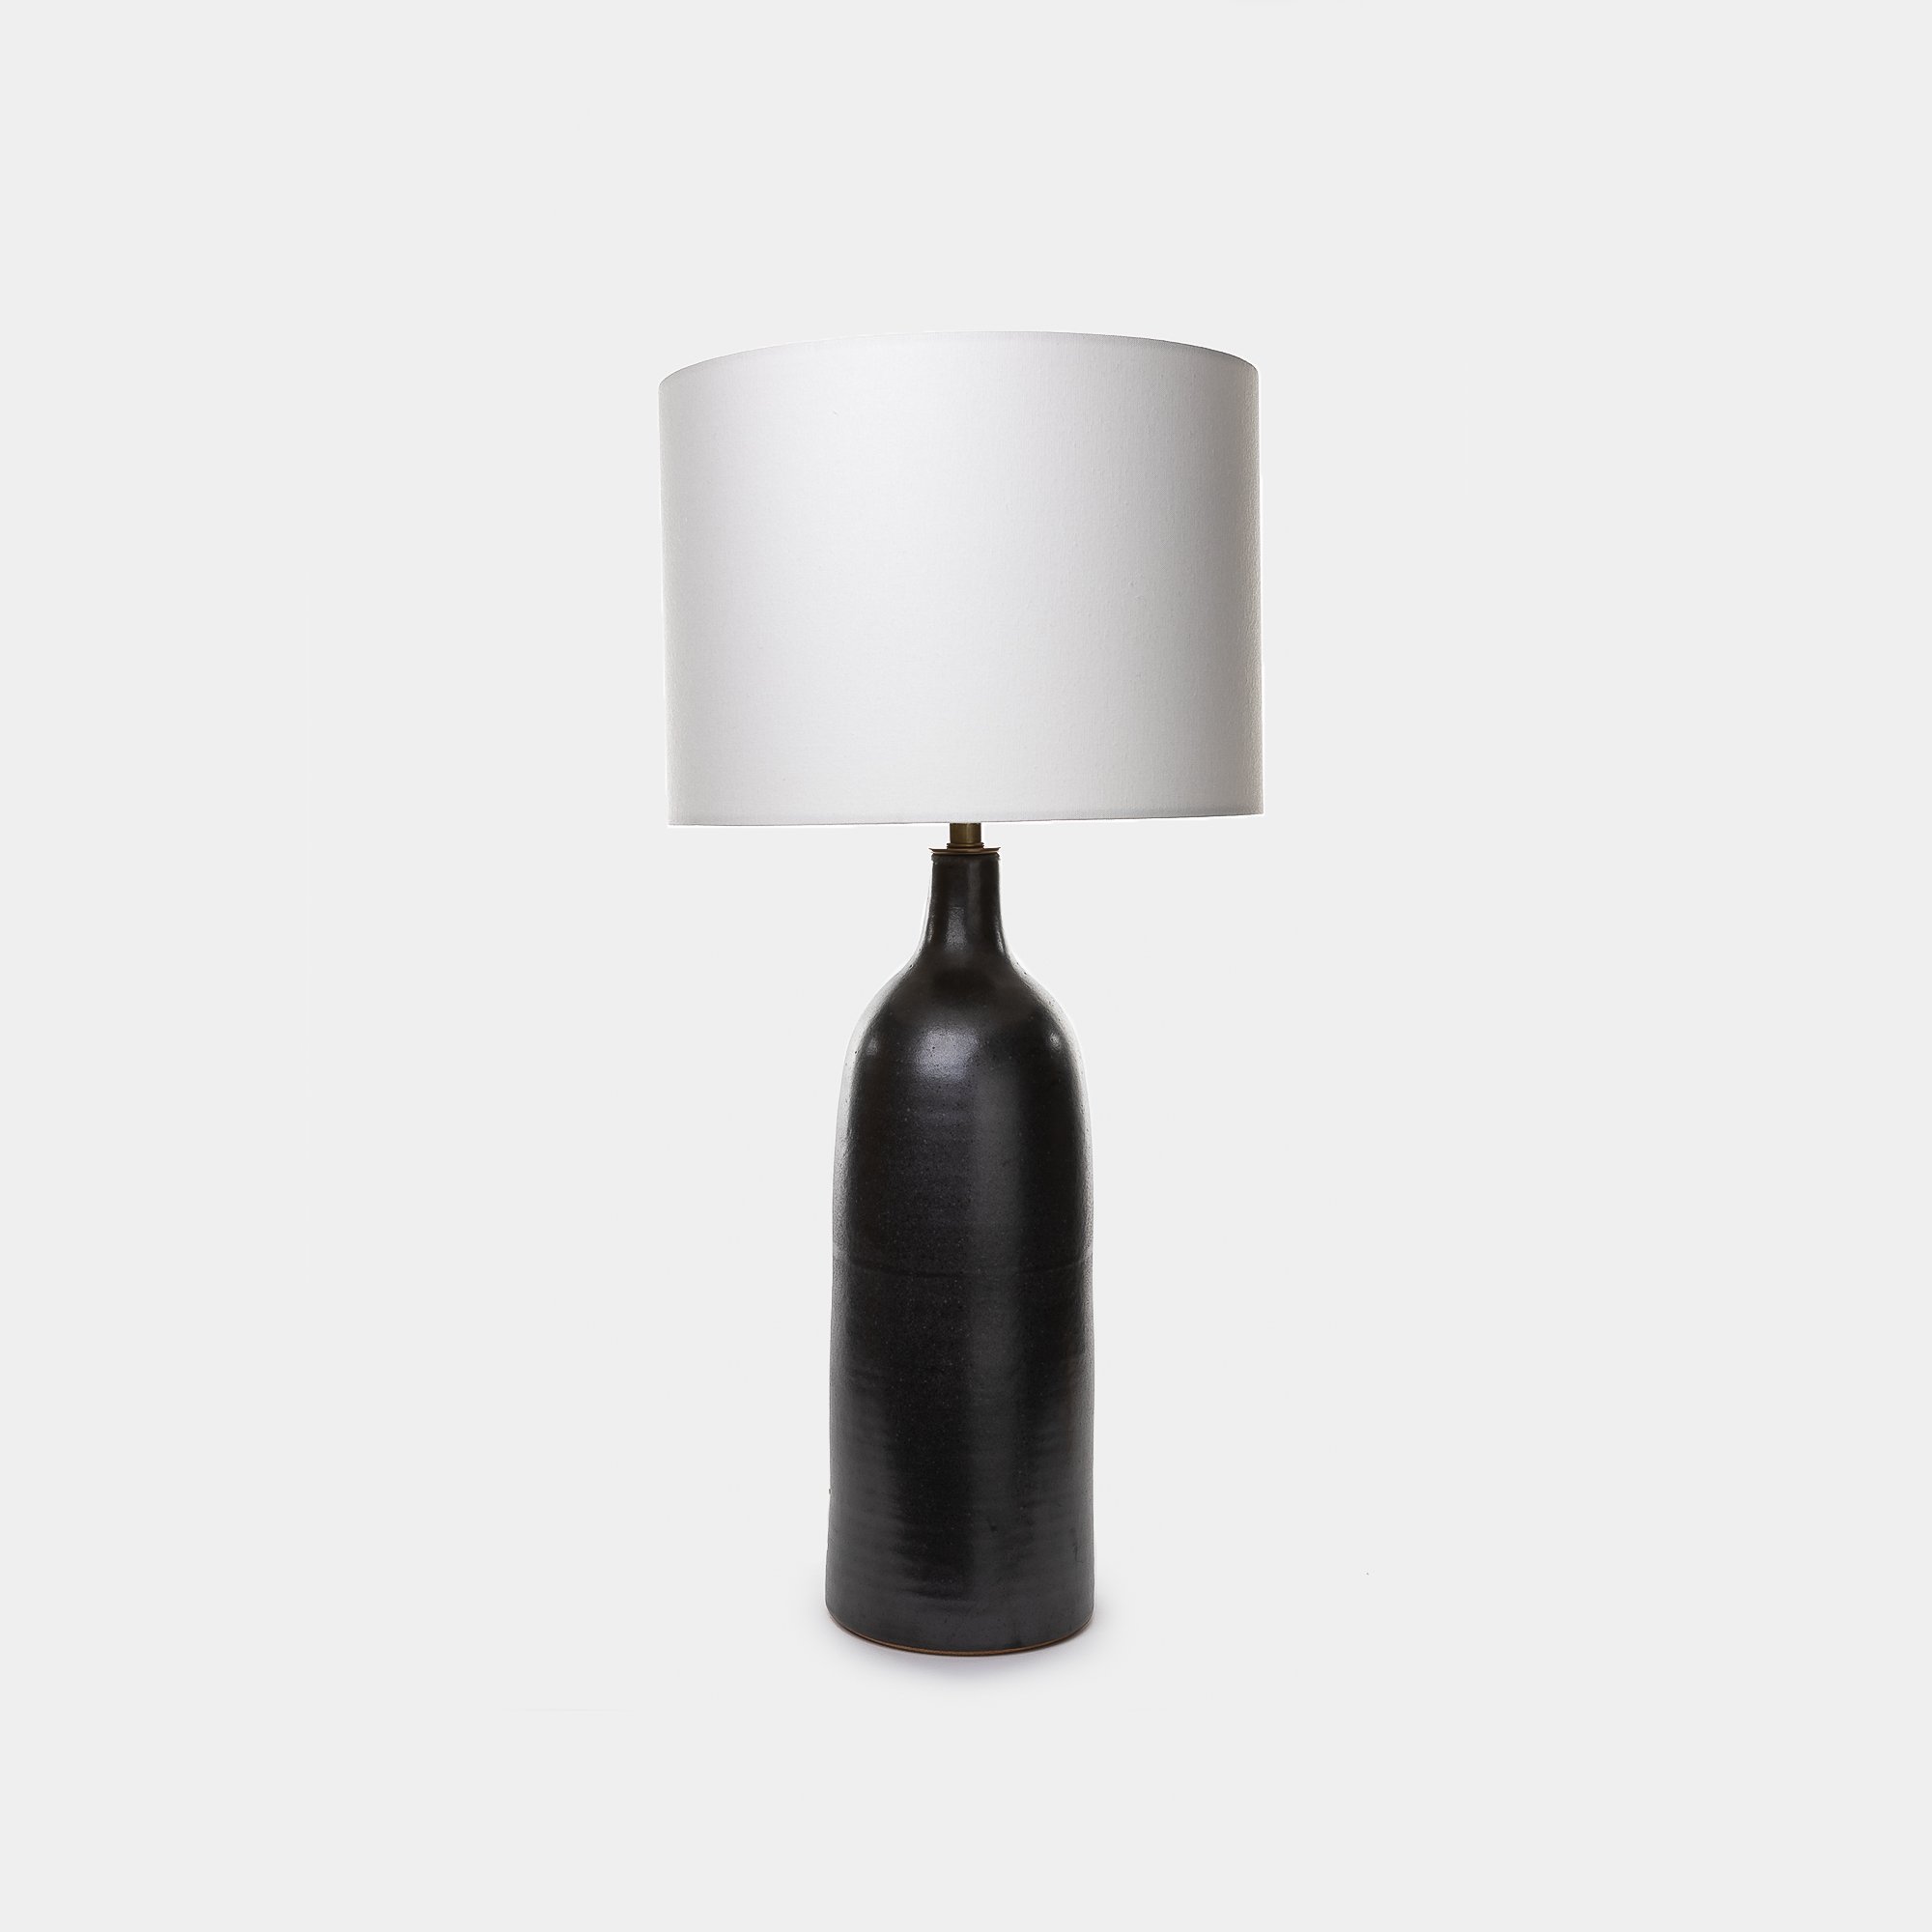
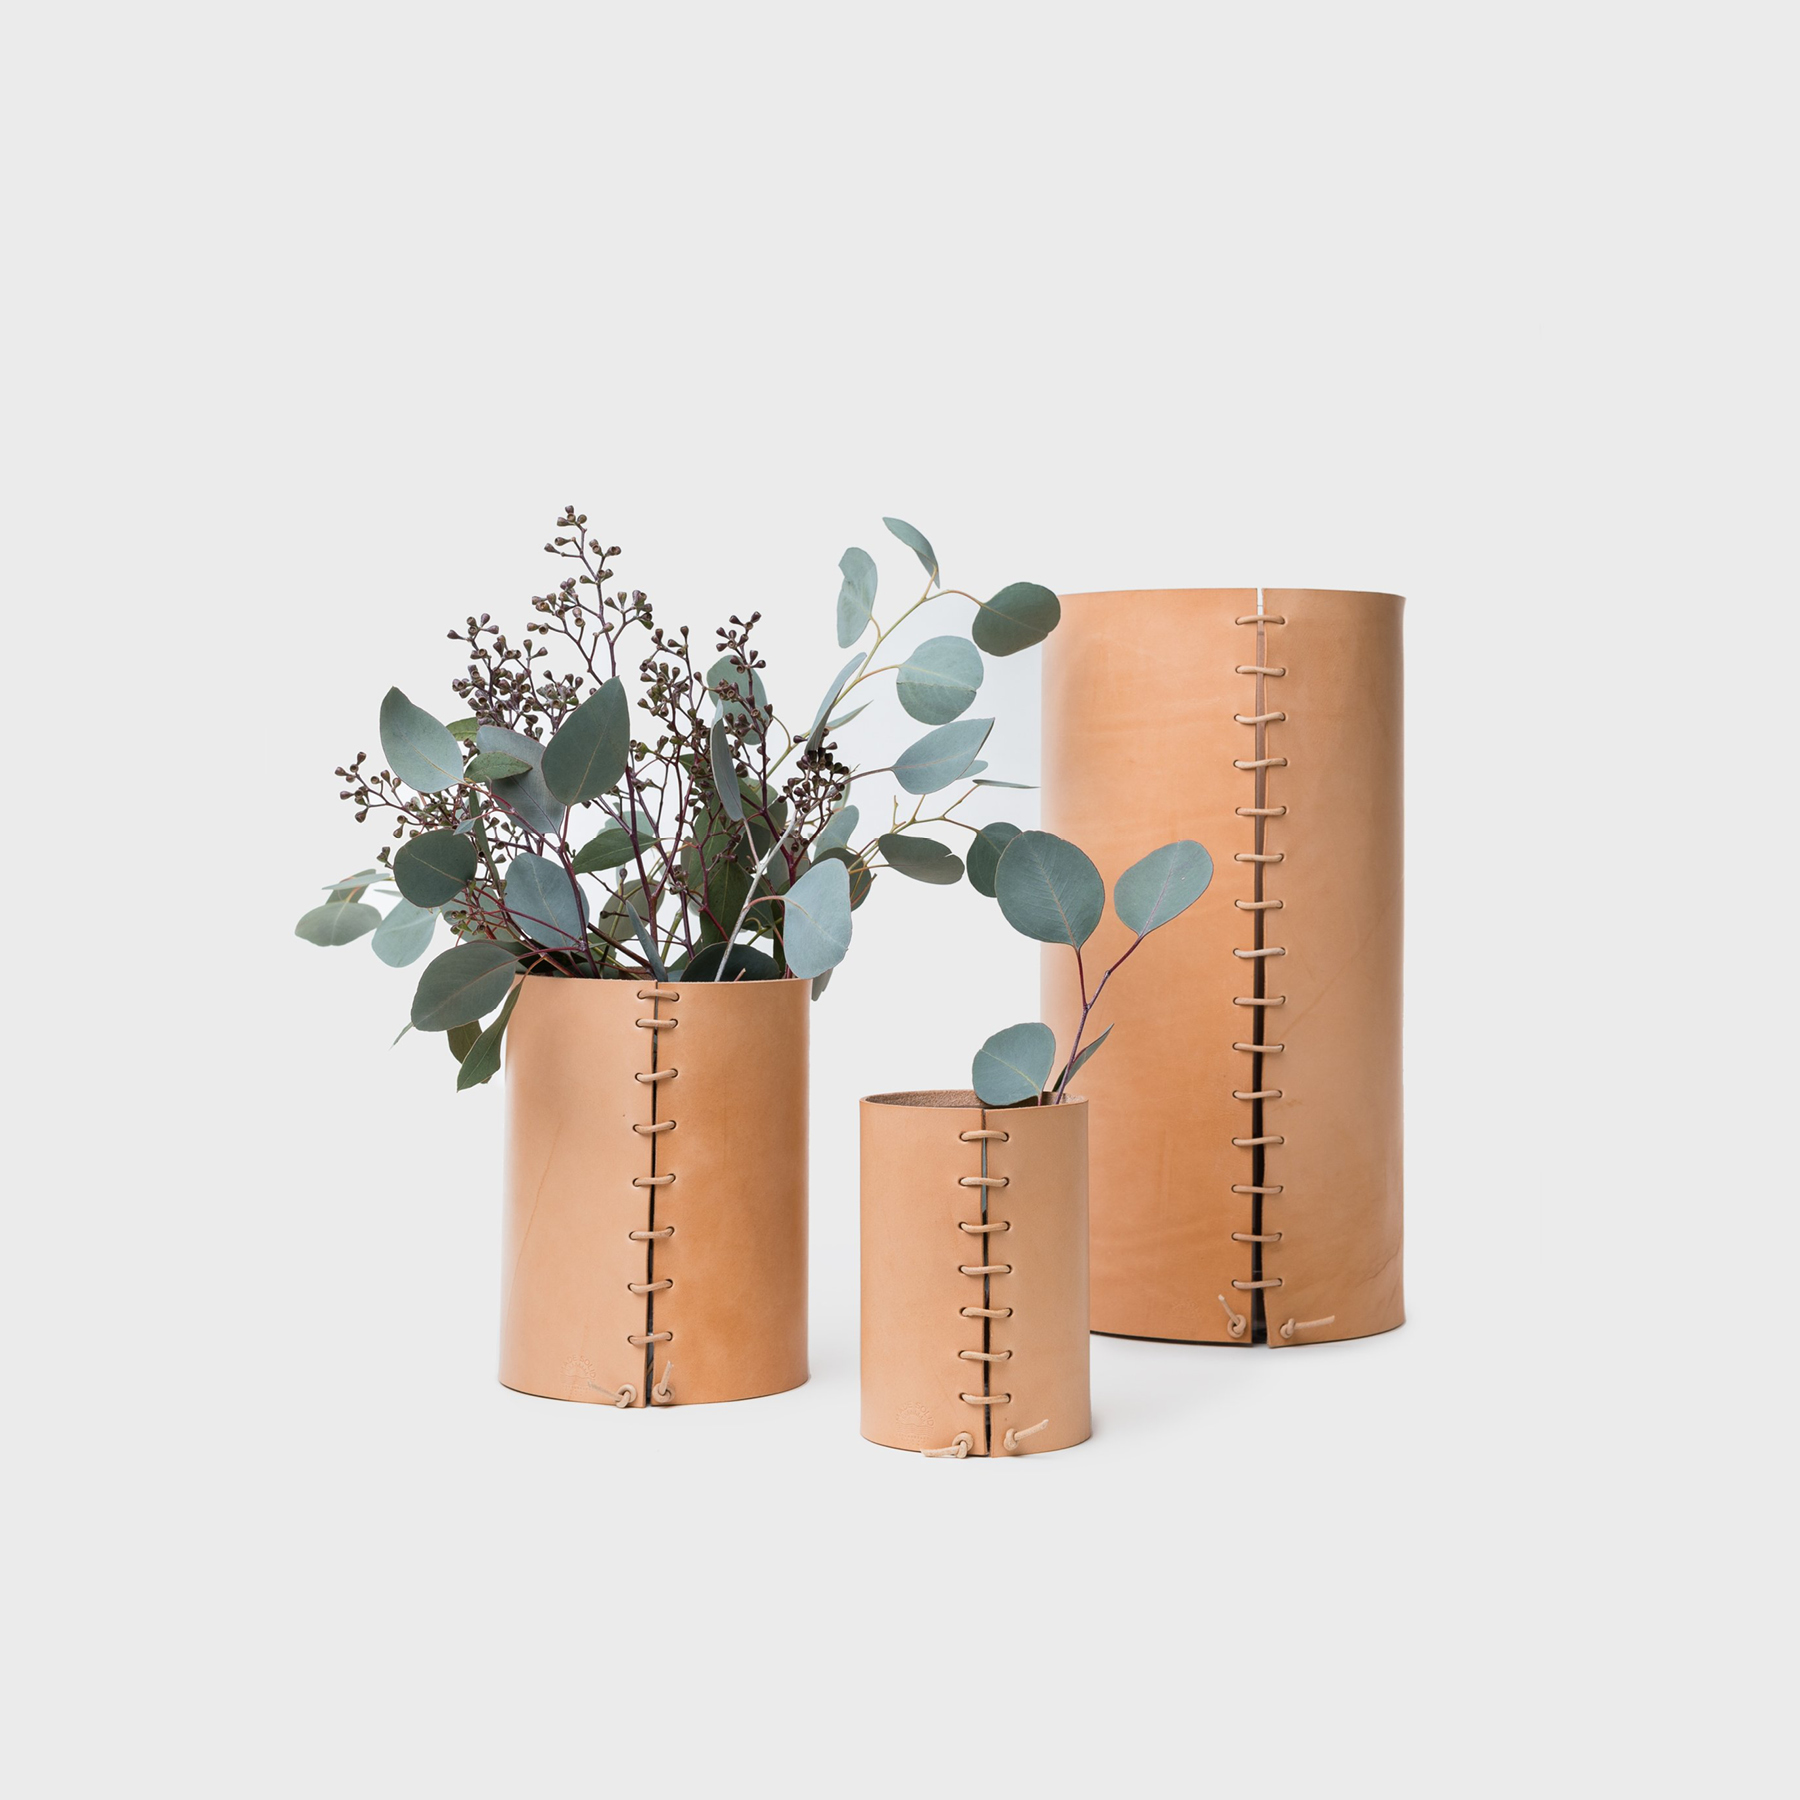
Now, night stands or side tables (I never know what to call these)! Everyone’s side table collection is going to be a little different, but for us, lamps, a little greenery in a vase and a candle are must-haves. Our number one advice here is to keep it simple. Clutter is stressful and that’s not what you need to look at when you wake up and go to bed. We also recommend a little nighttime hydration, so a cute carafe would double as both A+ for form and function. PS. We’re using the Anderson Side Table from Shoppe in this video.
Step Eight
Art in the bedroom is always a welcome addition for us. We tend to keep it subtle and calm, so for this room, these Angela Allen paintings were perfect. In terms of art placement, pieces can go above the bed or side tables, but it really depends on the layout of your room and available wall space. PS. Should we write another article on how to hang art?





Comment